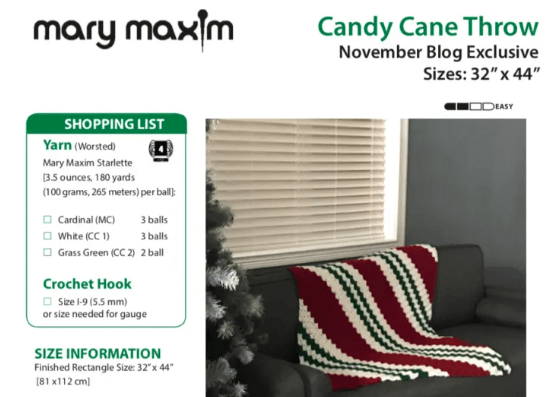
The Corner to Corner technique, although very trendy, is a technique that has been around for ages. Crocheted items worked in the corner to corner technique are often sought after for their beautiful textures and their beautiful simplicity. This series teaches how to crochet C2C or the Corner to Corner technique.

As we begin with this tutorial we recommend that you download the Candy Cane Throw pattern and have it handy as you follow along. This tutorial is written for the first time crocheter. We start by showing the pattern and the pictorial step by step below it. Finally, we write out the steps as if we were beside a beginner and were teaching them how to read the pattern. To review your stitches before you begin, look at the following videos located on our Youtube Channel: Chain, Slip Stitch, Single Crochet, Double Crochet and changing colors.
Shopping List
C2C Construction
Corner to Corner (C2C) afghans are crocheted working in increasing rows on a diagonal Each row increases by one block until the width size has been met, then maintaining width but increasing length until the length size has been met, and finally decreasing both width and length by one block per row until one block remains.
To make your first C2C beginning block:
Using MC, ch 6.
Row 1: DC in 4th ch from hook (3 skipped ch count as ch-3 sp, now and throughout pattern), and dc in each of next 2 ch – Beg Block made. Row 1 is complete (first Block on graph)
Start by chaining 6, then double crochet into the 4th chain from the hook. The 3 chains you skipped by count as a ch-3 sp and where the next row will work into. Next double crochet into each of the next two chains. This block when finished contains 3 double crochets and 3 chains for the ch-3 space.
Note: The beginning block is what increases your rows. When we begin the decreasing rows we won’t make a beginning block.
Second Row of C2C
Row 2: Ch 6, turn, (flip previous block so the ch 3-sp is at the top of work, see diagram above), dc in 4th ch from hook and each of next 2 ch, Beg Block of 2nd Row made. Hold previous block close to last block made, and sl st in ch-3 sp (which is at top of block), ch 3, 3 dc in same sp – Block made. Row 2 is complete (next 2 diagonal blocks on graph).
Chain 6 then turn your work by flipping it so that the chain 3 space is at the top of your work. Double crochet in the 4th chain from your hook, again the 3 chains you skipped becomes a chain 3 space and where the next row will work into. Then double crochet into each of the next 2 stitches to complete your beginning block.
To make your next block, hold this block close to the last block you made in row one and slip stitch into the chain 3 space. Next chain 3, once again this becomes the chain 3 space that your next row will work into. To finish this block complete 3 double crochets in the same chain 3 space. This also completes your second row.
Third Row of C2C
Row 3: Make Beg Block as in Row 2, sl st into ch-3 sp of next Block in Row 2, make Block, sl st into ch-3 sp of last Block in Row 2, make Block. Row 3 is complete (next 3 diagonal blocks on graph).
Row 4: Work a Beg Block, work 3 blocks. Row 4 is complete with 4 blocks. (next 4 diagonal blocks on graph)
At this point, you should have a good handle as to how to crochet the row. Start with a beginning block, you can refer to the directions in the first paragraph of row two if you need help. Slip stitch into the next chain 3 space and make another block. Finally, slip stitch into the last chain 3 space and complete the last block of the row. You should now have 3 blocks in row 3.
How to Corner to Corner Video
Stay Tuned
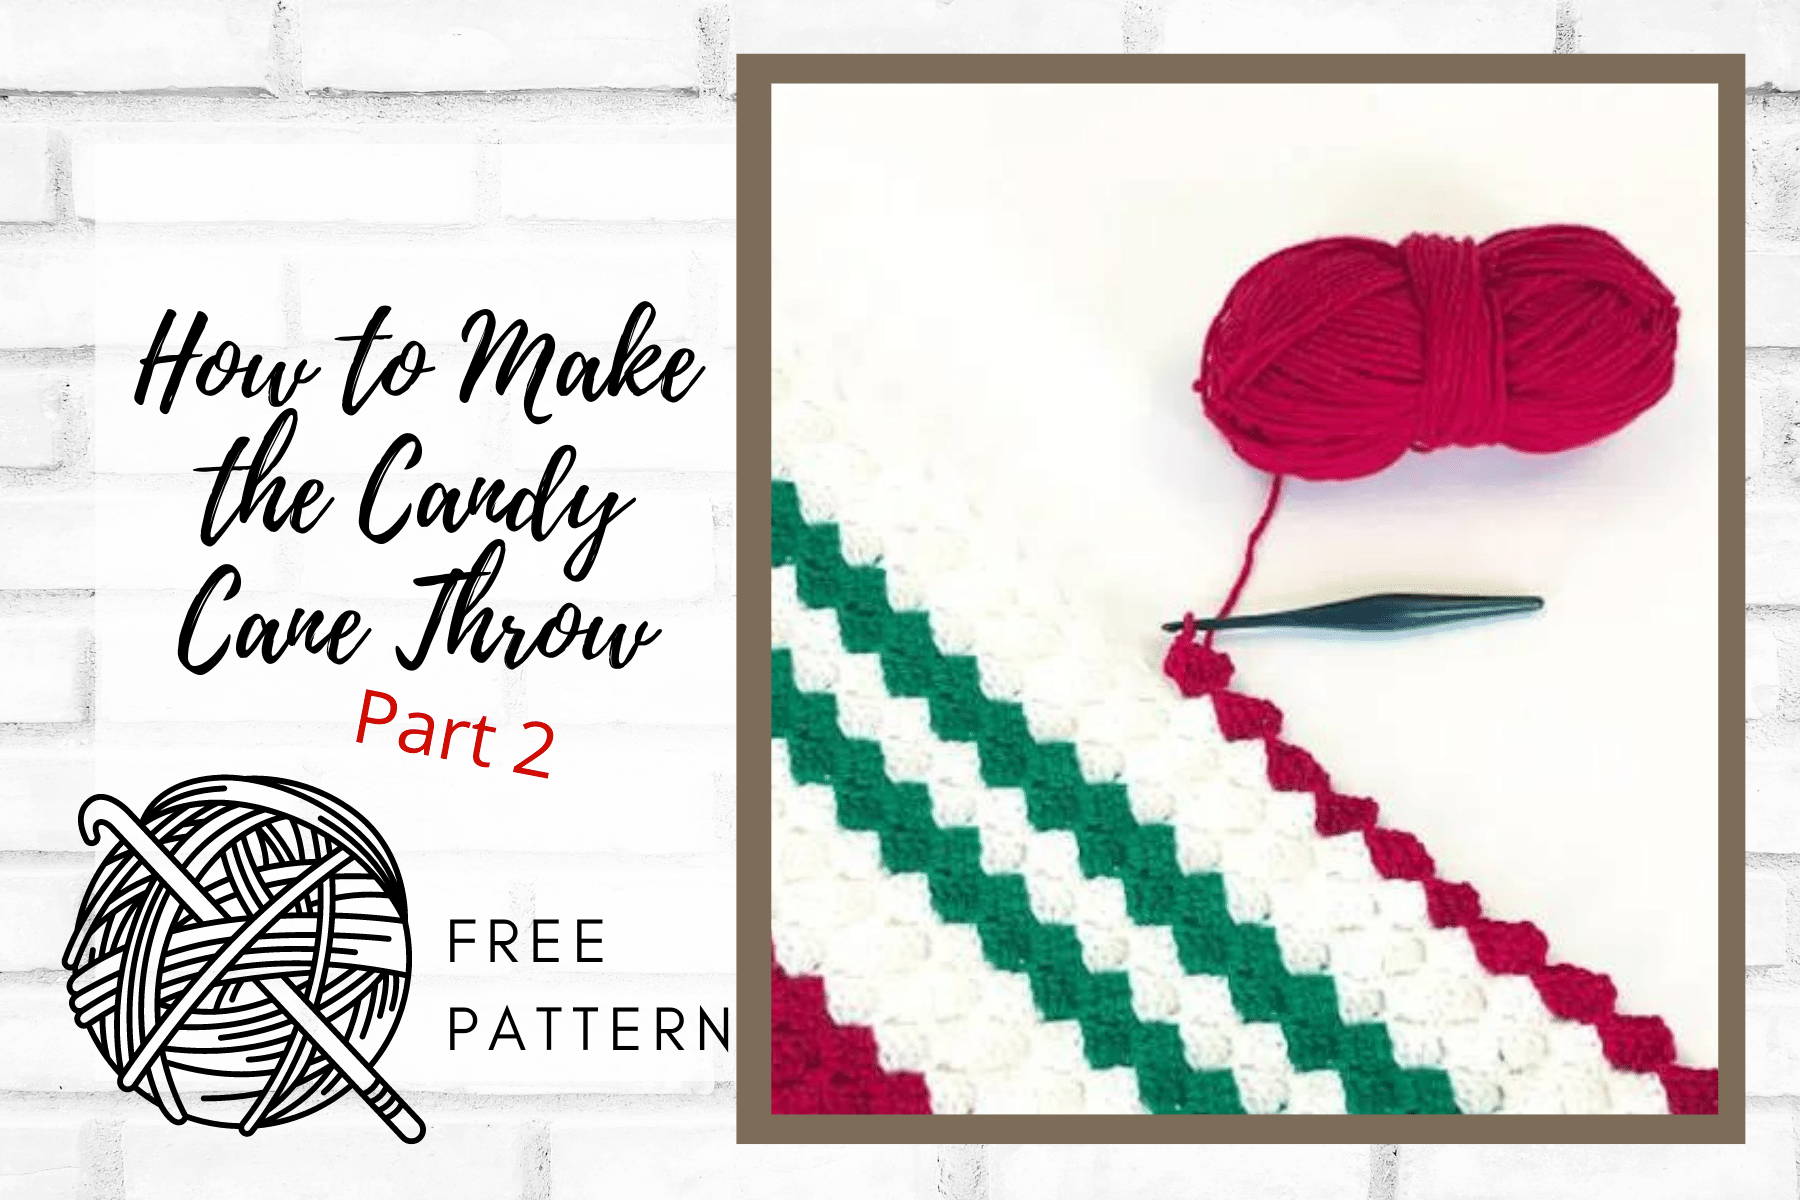
Check out Part 2 of our Learn How to Corner to Corner Crochet series. Next week we will demonstrate how to decrease your stitches and will feature video tutorials on the C2C technique. Make sure you subscribe to our blog, we have some wonderful sales coming up that you won’t want to miss. Don’t miss our December Blog Exclusive Free Pattern. We are also featuring some amazing collaborations with talented makers on blog posts like the Argyle Sparkle Throw Review and the Sledding Snowman kit review.
Be sure to follow us on Social Media!
Check us out on Instagram, Facebook, and Pinterest.
Happy Crafting!


